Genestack python client
How to set up the Genestack Python client
This article explains how to set up the Genestack Python client with a user and token, which then can be used by other scripts.
Requirements
- Python 3
- pip
Instructions
Install the client and bind a user
-
Start a console/terminal and install Genestack Python client:
# Install the latest version python3 -m pip install \ --extra-index-url https://public-nexus.devops.gs.team/repository/pypi-releases/simple \ genestack-client # OR: Install a specific version starting from 1.53.12, usually the same as ODM version, e.g. 1.54.0 python3 -m pip install \ --extra-index-url https://public-nexus.devops.gs.team/repository/pypi-releases/simple \ genestack-client==1.53.12 -
Obtain a token for your Genestack user by logging in to ODM and clicking on the profile link under the username. See an example for Public user below:
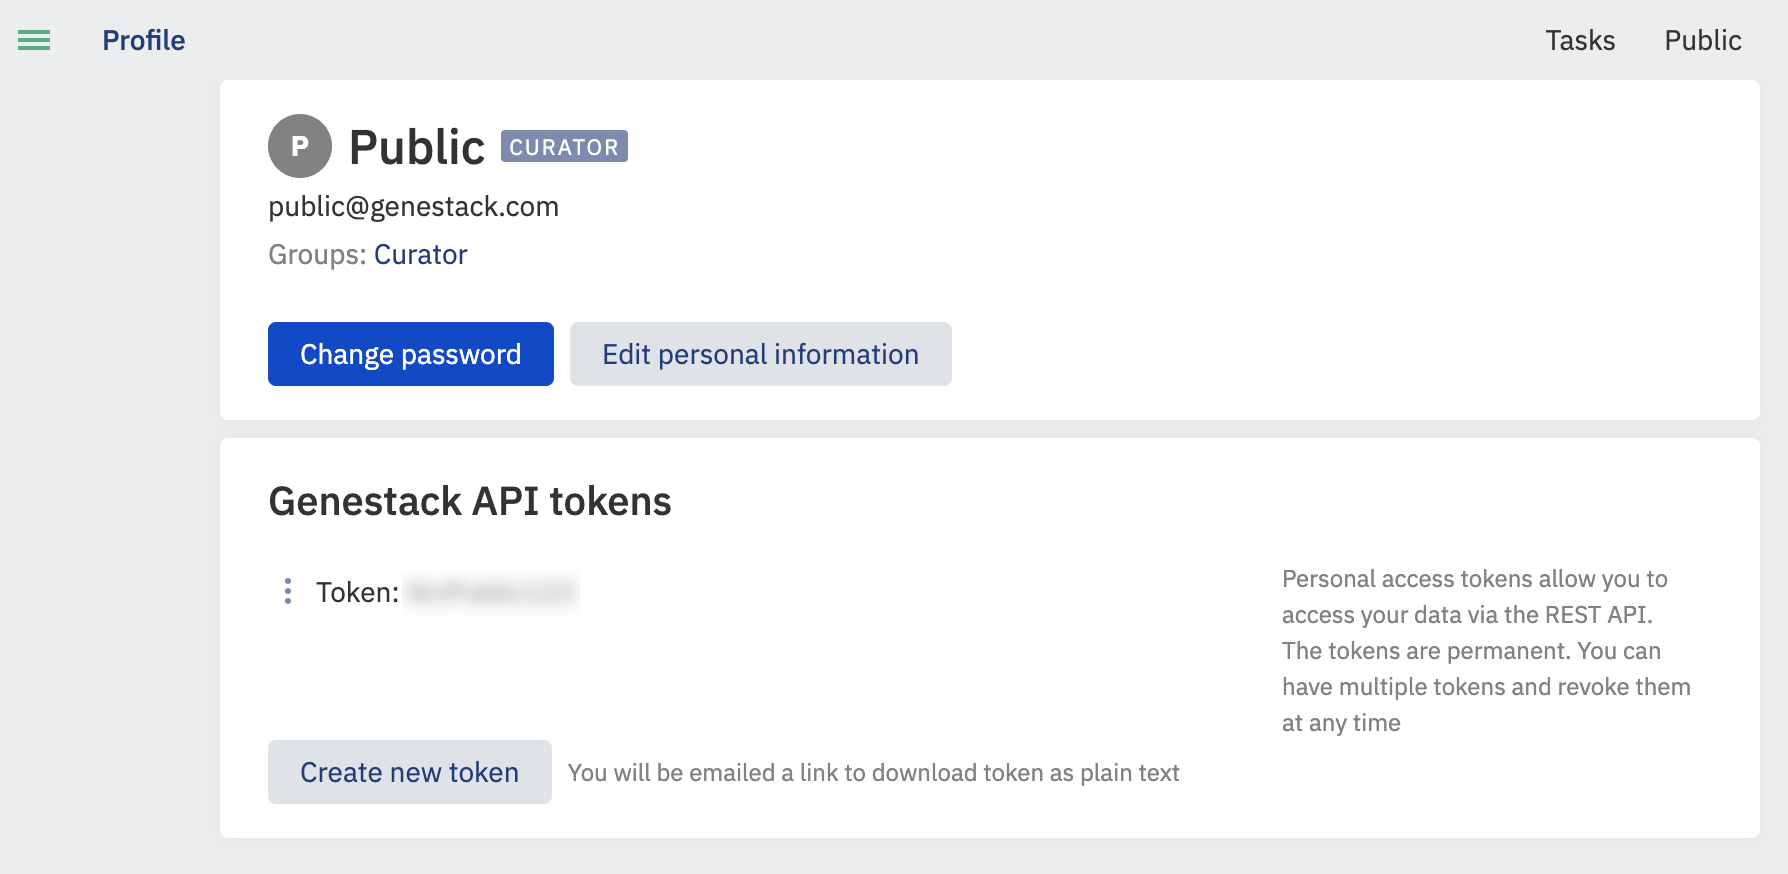
You need to click on the "Create new token" button, so you will receive an email with a link to your token. Please open the link in the email and save the token for future needs.
-
Set up your account with the Genestack Python client from a console
-
Type ‘add’ to enter a new user, enter an alias for the user.
- Enter the host name, which should be of the format: https://domain_name/frontend.
- Then select authentication method by token (1) and input the content of the token you received in step 2:
- Type ‘quit' to exit the user-setup.